You’re almost done with your amigurumi, but there is one task left: you decide to embroider some of the details of your toy. Oh no! At the beginning of my crafting life, I always dreaded stitching the little amigurumi faces, especially the mouths. Over the years, I’ve picked up on some handy tips and tricks that helped me along. I will share these with you today.
Material
All you’ll need for your embroidery adventure is a needle and some thread. I personally prefer an embroidery needle (with a sharp point) over a tapestry needle (with a blunt point) for this. It makes it easier to enter and exit the plushie wherever you want. Now onto the thread. You could easily use any type that you wish, but I recommend not using something that unravels easily. For really small amigurumi, I use one to three strands of special embroidery thread. For regular amigurumi toys, I find it easiest to use a good quality cotton thread of fingering or sport thickness (4-5 ply), depending on the size of the plushie.

Before or after?
When should you embroider your details? Before you start stuffing or much later, once everything else is already done? If you are making your plushie for young children, I’d advice on the first. When you embroider before stuffing, you can make the most secure knots and be absolutely sure that, no matter how much pulling or fingering it may endure, the stitches will never come loose. However, if you are having trouble with embroidery and you are not planning on giving your amigurumi to the young ones in your life, I’d recommend embroidering only after you’ve finished crocheting and stuffing your toy. When the plush is already stuffed, it’s considerably easier to make your stitches in the right places and to make them match up.
Starting and ending?
If you have decided to embroider before stuffing, simply make a big knot at the end of your thread and begin on the inside of your amigurumi, so the knot stays on the inside and keeps the thread from being pulled out. You will finish your embroidery with another big, tight knot on the inside. If you start embroidering after you’ve finished your amigurumi, start with a long thread on your needle, but don’t make a knot at the end! Enter the amigurumi about eight stitches (or as far as the length of your needle permits) from the spot where you’ll be embroidering a detail. Push your needle through the amigurumi from the entry point to the embroidery-spot, and leave a semi-long thread hanging from the point of entry. When you’re done embroidering the details, after the last stitch, exit the amigurumi again at the entry point. Now you have two threads hanging from the same point. Tie them together into a tiny knot, cut away the excess yarn and push the tiny knot into the amigurumi with the backside (the blunt side) of your needle. Gone! No-one will ever see a thing.

What now?
Now you know how to start and end, that’s all good and well, but what do you actually do in between those two steps?! I’m happy you asked!
I like to use some basic rules for the order of my embroidery stitches. I start with the most important outlines, the ones that will form some sort of frame that will guide me of where to put my next stitches. Then I fill up the space created by the outlines. Afterwards, I work away uneven lines by putting some last stitches over them to hide them.
When I embroider something that hasn’t got a frame or space to fill up per se, I follow a different order. I start out with a single stitch in the middle. Then I slowly expand from that center to both sides so I can mirror my stitches with less difficulty. I know this all sounds kind of abstract, but bear with me. Below you will see some step by step drawings that will clear up these descriptions.
The most common shapes: step-by-step
Here are some step-by-step diagrams for the most common shapes in amigurumi, applying the tips that I have explained above. They are not absolute rules of order, but just a look into how I personally create the basic embroidery on my amigurumis. There are a million more ways to create shapes, so be sure to try around to see which works best for you.
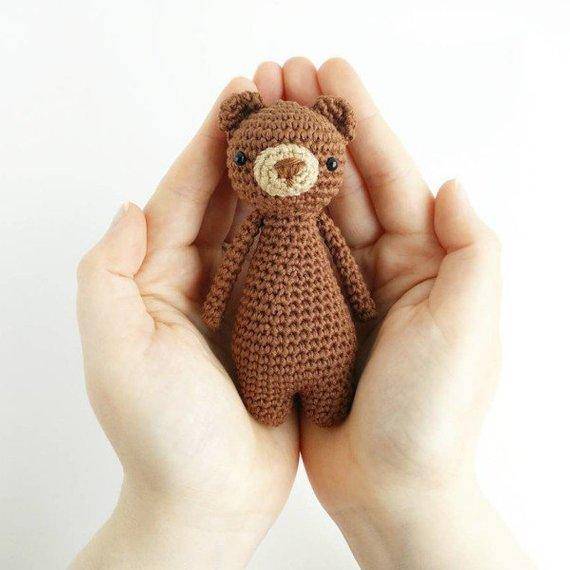
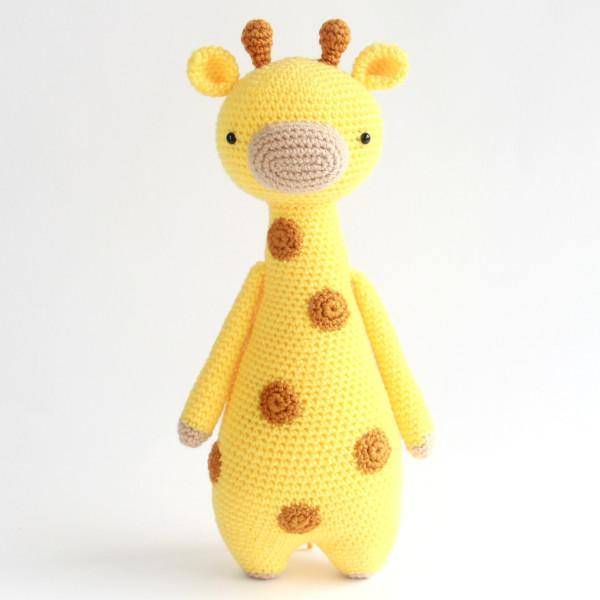
Snout with nose and mouth
Here we begin with the outline of the upside down triangle, to estimate its size. Then we fill in the triangle, and finish the uneven lines at the top with the top line. Then we can proceed to the smile.

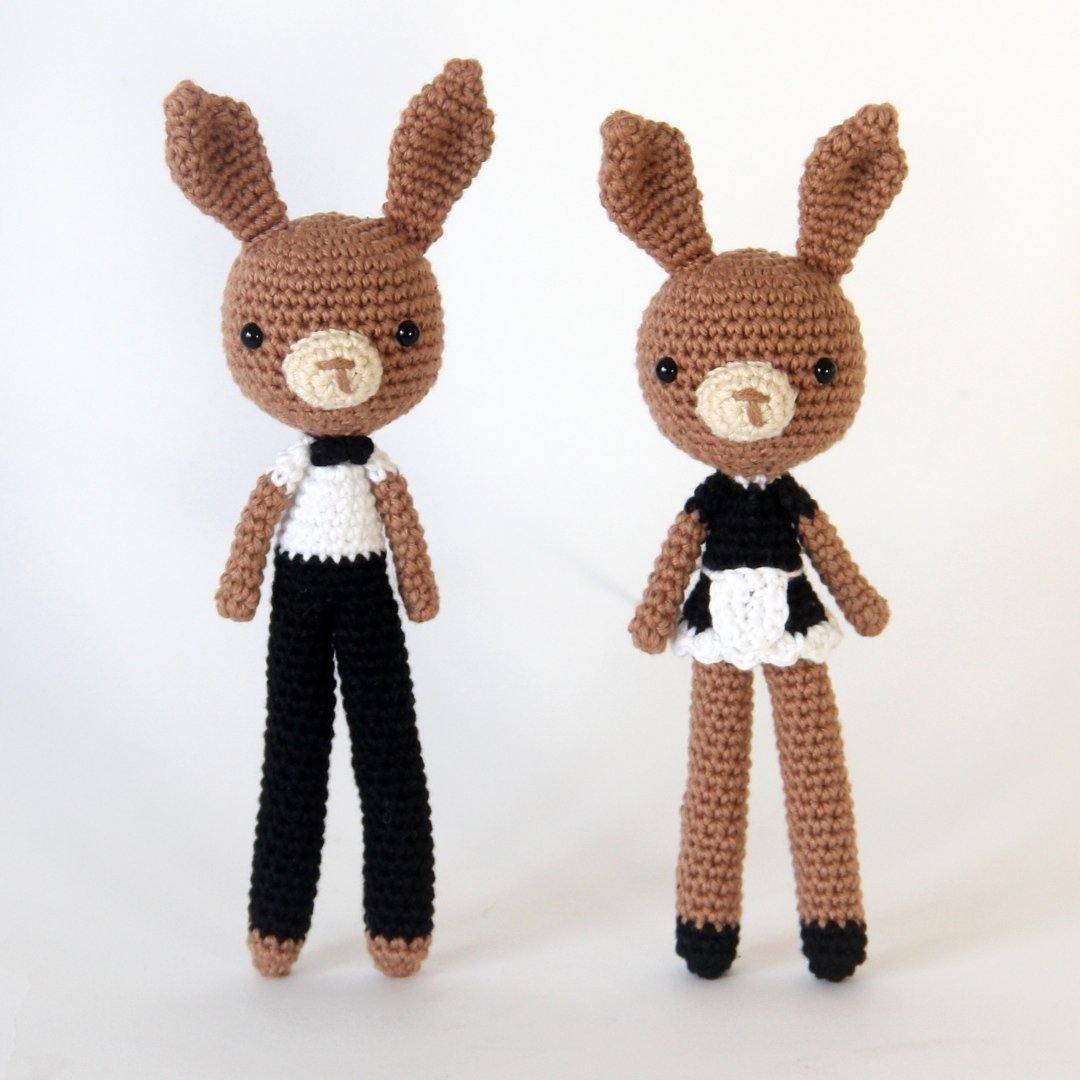
Multi-purpose basic snout
Here we make a couple of vertical lines, and then a couple of horizontal lines. Done already! This one is the easiest and can be used for rabbit amigurumi, for example.

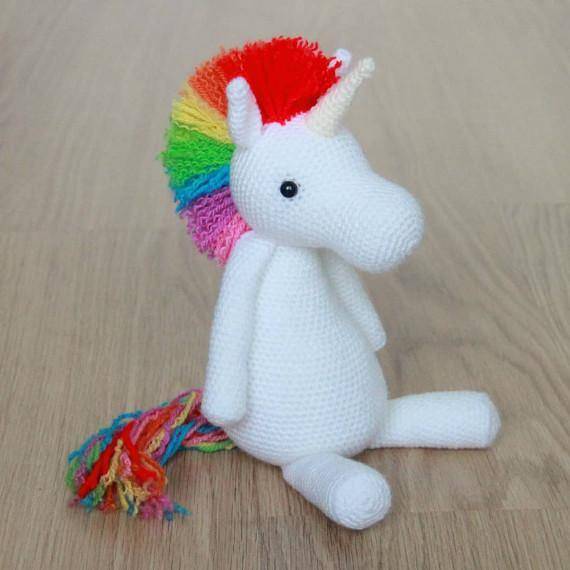
Several eyes
You can make such a wide variety of eyes! You can create even more diversity by combining different types of eyes, like a regular eye and a sleepy eye to make your amigurumi wink. To make circular shapes, try to use very small stitches. This takes more time, but a lot of tiny stitches with a slightly different angle look more circular than simply four straight, long lines.

Good luck!
That’s all! Don’t postpone any longer and try some of these embroidery techniques on that amigurumi project that you have been avoiding. Will you mess up? Probably, every skill takes a lot of practice. Don’t let your fear of ruining all your toys stop you. At first you will create a bear with an awkward mouth that’s way too big or small, but 20 toys later you will look back on that bear and appreciate that you can visually see how much your practice has helped you. That will give the awkwardly embroidered bear its own charm!
This article originally appeared at Hobiumyarn.com’s blog. You can read it here.